


Has your car ever stopped in the middle of the freeway all of a sudden? And wonder how to revive your car battery to get your car going to reach the destination from point A to B as soon as possible. The answer is to jump your car!
By the way, do you know how to jump-start your car? There are 4 ways you can implement the method I will explain below when you face a dead car battery.
Method 1. Using Jumper Cables
Method 2. Push to Start Your Car
Method 3. Using a Portable Jump Starter
Note: I will continue to add a new way to jump a car on this blog. Because this is what I love to do and would like to help my readers with the latest and fresh new information. With that, thank you very much for coming by and let’s get into it!
Learn Each Method of Jump Starting Your Car to Bring Dead Battery Back to Life
Method 1. Using Jumper Cables
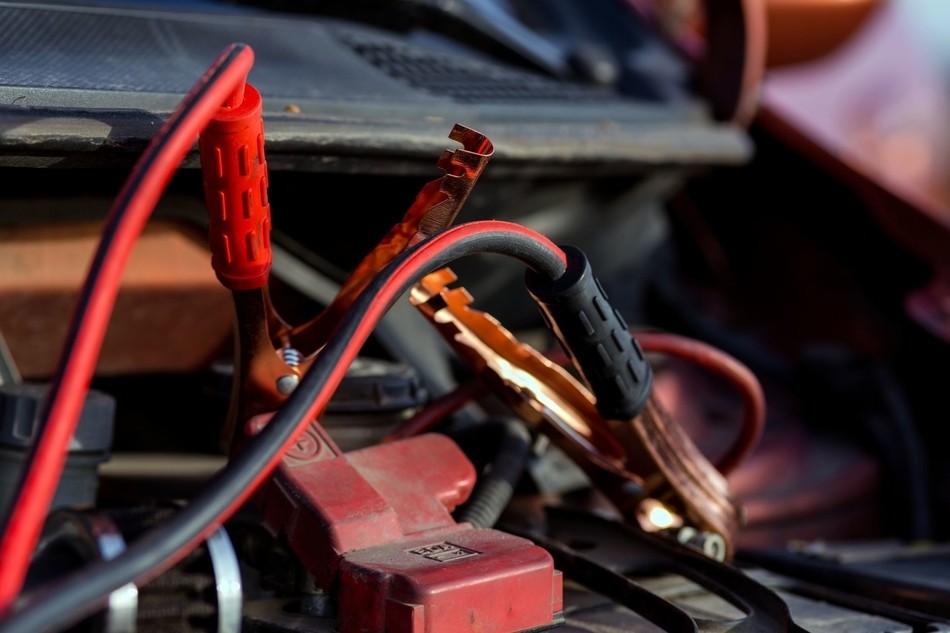 You need to have jumper cables for this and a second car or power source with which you can connect the jumper cables.
• First you should make sure that both the cars are turned off.
• The positive terminals of the two batteries should be connected via the red jumper cables. Make sure that the red jumper cables are used for the positive terminals always.
• Then connect the black or negative jumper cable to the negative terminal of the good battery and the other cable to a clean or unpainted metal surface under the disabled car’s hood.
• Start the good char and run it for about 2 to 3 minutes. Press the accelerator in short intervals as well to pump more juice. Then start the car that was disabled. If it starts, then follow through with the next steps, otherwise repeat this step.
• Then remove the cables in reverse order; black first and red after.
• Keep the car that has been jump started running for about 30 minutes so that the battery is given sufficient time to recharge.
This should fix up the car battery for the next few days.
The hardest part of the process is to remember the positioning of each cable. Many people break out in sweats when it’s time to jump a car because the positioning of the cables isn’t very well recognized. The good news is that it’s impossible to electrocute yourself while jumping a car so you shouldn’t worry about loss of life.
The battery may give you a shock at worst, but the voltage is too low to penetrate your skin and put your down. To remember the positive and negative cable colors, the red is for blood, which is positive and the black is for death which is negative.
Method 2. Push to Start Your Car

You can also say “Hill Push Method”. This is one of the most basic and commonly used ways for drivers who are usually stuck because of a dead car battery in a hillside area. There are 3 different ways that you can use to perform the Hill Push method.
2-1. The Hand Brake Method
First: What is the car’s hand brake?
It is often known as the parking brake. It is a hand-operated tool that is positioned on the center but you can also found between the driver seat and the entrance.
With this method, you need to put the pressure on the gas accelerator as you release the clutch lever while you free the handbrake along with the clutch.
To do this, you need to use the hand brake. As you rest on a hill, pull on the clutch accelerator and change it into first gear.
Second: You need to set the hand brake. Setting the handbrake enables you to stay held and strain the clutch treadle with your left foot while moving your right foot available to push the gas pedal.
Once you already set the hand brake, you need to put the clutch lever while you the pressure on the gas lever with your foot. When you need to move again, you need to start pushing the gas pedal.
The amount of steep place defines how much pressure you need to put on the gas pedal. You only need to remember that it requires a steady amount of pressure from your foot.
The higher the hill area is the higher the amount of pressure needs to exert from your foot.
2-2. Use the Heel and toe Method
Using this method enables you to simultaneously put pressure on the clutch, brake, and gas pedal – all of them, at the same time. While performing this method, the car gives gas while pushing the curb with the right foot. This method will ignite the car’s engine and will help start the car.
First: You need to push the clutch and brake lever at the same time.
Second: You have to put pressure on the gas lever using your heel. If you need to move forward in the car, just slip the heel of your right foot onto the gas accelerator while maintaining the toes of your right foot on the brake pedal. With this movement, you keep the car not moving while still utilizing the gas.
Third: Release the clutch. As you give more stress to the gas accelerator using your right foot, gradually release the clutch lever.
Fourth: You need to put pressure on the gas accelerator. When you feel the clutch start to go into spur wheel, you can move your right foot onto the gas pedal.
Fifth: You can free the clutch slowly as you give way to the car to have some gas to move forward.
2-3. The Clutch Lever, Brake, and Gas Accelerator Foot Method
This specific method is one of the most commonly used when starting a manual transmission vehicle on a hill. It is quite difficult to sync the force applied on the clutch and gas pedals, but once you get used to it, you can do it anytime and anywhere you are.
First: You need to put pressure on the clutch the brake pedal. Once you came to a stop, put pressure on the brake and the clutch levers at the same time with the same force. Please make sure that it changes into the first gear. With this method, the car should idle evenly as you wait.
Second: Slowly release the clutch lever until you feel that the car start to go into gear. While doing it, you can move your right foot from the brake pedal to the gas.
Third: put pressure on the gas accelerator. As you press onto the gas, you can release your left foot from the clutch lever.
Recent Updated On this Subject
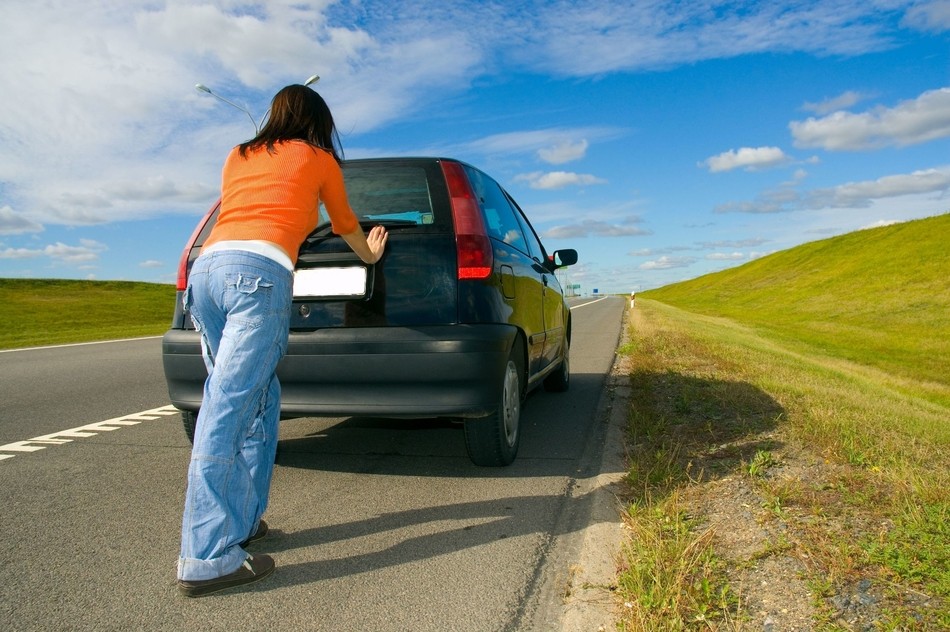 This is a bit more complicated than jumping with cables. Many of you know of this procedure by the name of ‘push starting the car’. However, in case you’re alone, this is what you can do.
• First find a clear patch of road where there are no obstructions and the patch is going downhill. Then fully depress the clutch and put the car in to first gear.
• Turn the ignition on and take your foot off the brake. This will take the car downhill and the clutch will be fully depressed.
• When you reach 5-7 miles per hour, release the clutch quickly and you should feel the engine turn and start. If it doesn’t start the first time, then depress the clutch and release it again.
• When the car starts, shift in to neutral and press the accelerator and keep the car running on high for about a full minute. This will charge the alternator.
• If you don’t have a hill, then you can get your friends or some good Samaritans to help you push the car while you follow the steps outlined above.
Granted, this is a much less effective way of starting the car or jump starting it than using cables. It’s something that should be tried as a last straw and you should replace the battery as soon as possible once you’re in a safe location which is close to home.
Method 3. Using a Portable Jump Starter

1. Locate the Battery
Yes, the first step towards starting your car is locating the location of the battery itself. It may sound like an obvious thing to find. But, wait until you encounter a vehicle model with the battery placed in the trunk or even beneath the back seat.
Cars come with different designs, and the location of the battery can’t always be where you’re used to, the engine bay. If you’re sure that it’s there, go ahead and open the hood to access it.
2. Turn Off Your Vehicle
Well, you’re using the starter because the car won’t start. But, you have to ensure that the ignition is turned to the off position before commencing with the entire procedure. Also, make sure that the electrical appliances are all turned off to avoid shorting them in the process.
3. Connect Your Jumper Cables
This step may not be necessary for most portable jump starters as they come with their cables permanently attached. If the compact jump starter has a removable cable, start by connecting them. While connecting, you must ensure that the device is off.
4. Connect the Jump Starter to Your Battery
Now that everything in position, your next step should be to connect the battery. Connect the positive (the red one) cable of your portable jumpstarter to the terminal on your battery labeled with a plus (positive).
For the negative clamp, attach it to a stable area, the chassis of your car. As you’re aware, the engine area vibrates when the vehicle starts. Therefore, you ought to ensure that the cables are firmly attached to prevent them from disconnecting.
Many people are often asking why the negative clamp is attached to the vehicle’s chassis. Well, you should understand that the negative terminal acts as the ground for the battery. It’s for this reason that it’s usually connected to the chassis.
Therefore, connecting the clamp to the chassis is the same as using the negative terminal of the battery.
5. Turn On the Portable Jump Starter
Once you’re sure that the cables are firmly attached, it’s time to give in some power, and that means turning on the gadget. Turn the starter’s switch into on position.
6. Start Your Car
While the device is still on, head into your car and turn the ignition on. On many occasions, the car won’t start with the first attempt. So, how long should one crank the engine? You may ask. Well, from a professional’s view, you should never crank the engine for over five seconds.
By doing so, you will be forcing the jump starter to deliver high currents for an extended period. You must understand that the devices are designed to do so within a short period. Therefore, if you surpass the five seconds, the starter may end up overheating.
In some instances, the mistake can even lead to severe damages on the device’s battery. It’s recommended that you give the jump starter about three minutes before trying a second cranking.
The three minutes allow the device to cool down and the voltage to recover. By allowing a cooling period, the device will be able to deliver a peak current during the next starting attempt.
7. Disconnect the Portable Jump Starter
You should be ready to start your engine within your first or second attempt. However, based on circumstances, the engine may require even five trials. After the vehicle has started, you will need to disconnect the device.
For safety purposes, it’s recommended that you start by switching the portable device before removing the clamps. Once it’s off, start by unplugging the negative cable and then the positive one.
8. Close the Hood and Drive Your Car
After disconnecting the jumper cables, close the hood and enjoy a ride. Remember, your vehicle was unable to start because of a flat battery. Therefore, you’re needed to give it some time to top up the battery.
Turning off the car immediately means that the battery won’t charge, and hence you may have to repeat the same jumping thing. Professionals always insist that you should for at least 20 minutes to allow the alternator enough time to charge the battery.
Advantages of Using a Portable Jump Starter
1. Convenience
If you’re an off-road kind of a person, you understand the struggles that come with a failing battery. Imagine being stranded on those lonely highways. The experience is usually scary, bearing in mind that you expose yourself to attacks.
Another disadvantage is that most drivers using the route may not be willing to stop and help. Even with your jumping cables, you may end wasting your precious time there, hoping someone will come to your rescue.
Thankfully, with this portable jump starter, you don’t need to depend on anyone’s car to get yours started. With the tool, you can be back on the road sooner than you expected.
2. Easy to Charge
A portable jump starter uses its power to revive your engine. It, therefore, requires some charging. As many auto experts will tell you, topping its charge is simple as charging your phone. The gadget doesn’t require any form of special recharging or something of the sought.
3. Can Jump Your Car Several Times
In some instances, you may find yourself in a situation where your car battery is worn out. Hence, your vehicle will ask for assistance with starting, several times. With a portable jump starter, you can deal with the problem while you seek an alternative. The device can offer multiple jumps before it asks for recharging.
4. Are Affordable
With the many amazing features, many people expect a portable jump starter to be expensive. It’s incorrect because the devices come at an affordable price. Like it’s with the traditional starters, these devices come at different prices. The prices are dependent on capacity and features. Therefore, you can be sure that you will always get one that matches your budget.
And this article shows the best portable Jump Starters.
5. Safe for Your Car
When starting your vehicle using cables, you stand the risk of cable voltage spikes. Such incidences can lead to damages to your car or that of the individual helping you. Thankfully, with a portable jump starter, you won’t have to worry about all these risks.
8 Caution When it Comes to Jumpstarting Your Car
There are a few things that you should note before you jump your car. These include some safety precautions that can make the job easier, and they can also prevent injuries that can be easily avoided.
1. You should park both cars in a way that their batteries are the closest that they can be. The cars shouldn’t touch of course, but it helps if they’re close together. There could be issues if the cars are far apart, like the length of the cables. And it goes without saying that you should turn off both cars before beginning.
2. You should also check if all the cell phones that you have with you are turned off. They should be detached from the sockets in the car. The car radios and blinkers and all the accessories should be turned off. This includes any cigarette lighters and headlights as well.
3. The reason for this is that jump starting a battery can move an excess of 300 volts through the system. This can short circuit those accessories or permanently damage them.
4. If there is any corrosion around any of the battery terminals, you should clean it off. Use a wire brush. While doing this, you should loosen the screws and wires. This way you can get in between the nooks and crannies so you can clean better.
5. Familiarize yourself with the positive and negative terminals of the battery. They’re usually rubbed off by the corrosive battery acid over time. This way, you won’t be mistaken if you have to jump start your car in a hurry. If you can’t remember, then always mark the terminals with a marker and keep checking for visibility.
6. If there is a crack in the battery and the acid is leaking out, stop immediately. Get another battery to replace it. If you try to jump start it with that crack, there is a risk of an explosion. Don’t take that risk.
7. Don’t ever try to drive while your car is being jump started. This could damage the hood of your car and it could also damage the other car and its battery.
8. If you don’t have access to another car, then you can use a jump box, or a battery pack. You can buy this very easily. These battery packs have improved incredibly through the years and have reduced in price. There are benefits to jump starting a car without another car. The most obvious one is that you won’t need another car.


