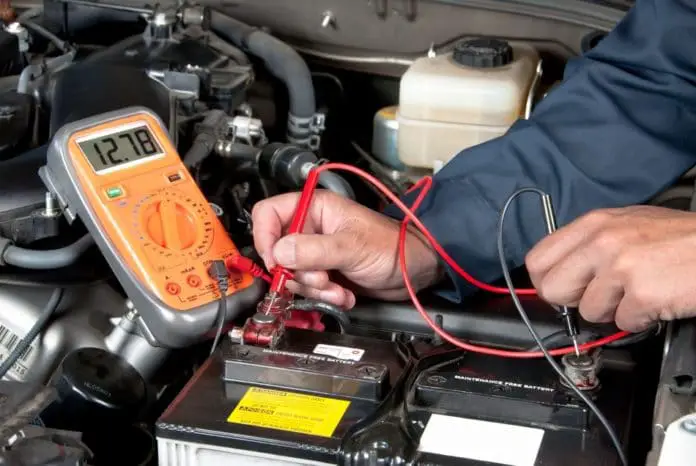
Cars and vehicles, in general, have a tendency to plot the perfect moment to bestow some grief upon us. In majority cases, the issue involves a dead or faulty battery. Knowing how to test a car battery is essential to solve any battery problem effectively and efficiently.
It is important to avoid the problem completely in the first place by finding out if your battery has sufficient charge and if your electrical system is error-free.
You can either perform the easy task yourself or depend on a professional mechanic, although the latter is going to cost you more than necessary. Testing a car battery is pretty much a DIY task you can do at home which you will excel at by the end of this guide.
To test your car battery for charge, you can use various methods and equipment. You can make use of a multimeter, ammeter, voltmeter, hydrometer, load tester, or even the power probe method for the purpose. Regular battery check will ensure that you’ll have your vehicle ready at all times.
If your battery seems to be old and worn out and you do not want to ride to a local store, then the following battery solutions are perfect for you. Learn about the different approaches that you can take in order to fulfill this simple task.
Method 1: Testing Your Car Battery with a Multimeter
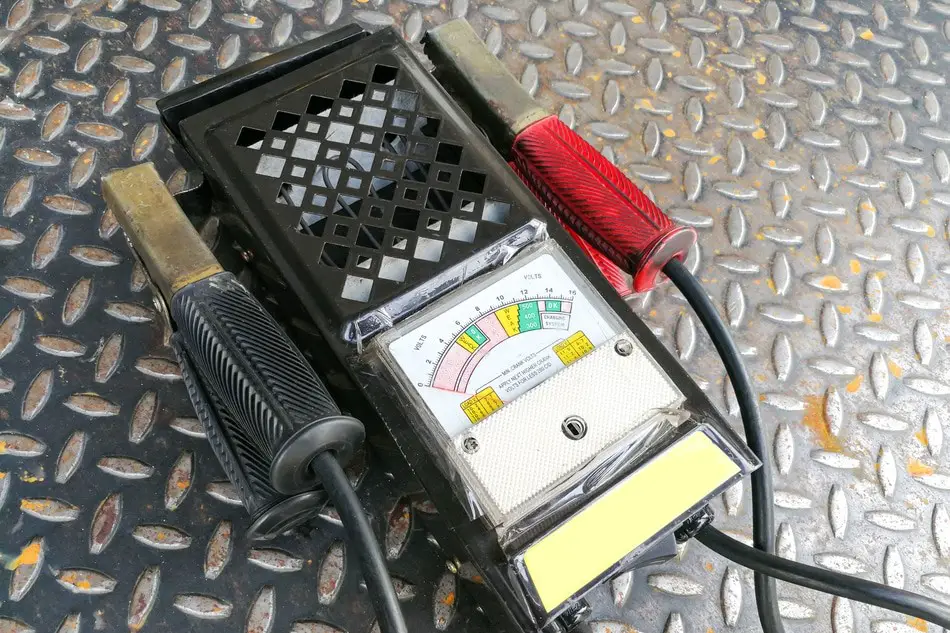
Some of these maintenance-free batteries come with a charge indicator. This is a simple display on the upper part of the battery indicating whether your battery has a full charge, requires a charge to start your car, or has some kind of fault. These statuses are displayed with a green dot, no color, and yellow dot respectively.
You can purchase a multimeter at any local store or online!
Step-by-Step Procedure to Follow
Step 1: Take your voltmeter and set it to 20 DC volts.
Step 2: Connect the negative battery terminal (typically black) with the negative meter probe (typically black as well).
Step 3: Now connect the positive battery terminal (typically red) with the negative meter probe (typically red as well).
Step 4: For this step, call someone else for help. Ask them to turn on the headlights of your car to provide your battery with a light load.
Step 5: Check the reading on your voltmeter.
Step 6: The optimum temperature should be around 80°F.
Things to Know
• If the voltmeter displays a reading of about 12.5V or higher than that, it means that your battery has a good and sufficient charge.
• If the voltmeter displays a reading of about 12.3V, then it means that your battery is charged more than halfway.
• If it shows a reading of 11.8V or lower, then it means that your battery isn’t half charged.
• A low reading clearly indicates a problem with the chemical reaction of the battery, therefore you need to slow charge it to improve the reaction and after doing so, you should repeat the test. If the reading doesn’t go any higher, then it means that’s your battery is dead and needs to be replaced.
Method 2: Testing Your Car Battery with a Hydrometer

You can simply know if your battery has become dead and failed. Remember a hydrometer can only be used on car batteries that come with removable caps.
You can buy a hydrometer at any local auto parts store near you or order it online!
Step-by-Step Procedure to Follow
Also known as electrolyte gravity test, using a hydrometer to test your car battery can tell you if your battery is fully charged, undercharged or even has some faults. It is best to use one that comes with a conversion table so that you can adjust your reading according to the varying temperatures you are testing under.
Note: Take these necessary safety measures before you start with the process:
• Wear acid-resistant hand gloves and goggles at all times to protect your skin and eyes from any damage from acid.
• Metals tend to react with sulfuric acid. While measuring electrolyte temperature, make sure you do not use a metal thermometer. It could react with the acid and also cause a harmful explosion.
Step 1: Start by removing the caps from the upper portion of your car battery.
Step 2: Now immerse the hydrometer’s tip into the car battery’s first cell and press the hydrometer bulb.
Step 3: Release the hydrometer bulb and let electrolyte penetrate inside the hydrometer needle.
Step 4: Check the label of your tool and read the written instructions.
Step 5: Read the electrolyte specific gravity as per the instructions provided.
Step 6: Note your reading somewhere and start testing all the other cells in the same manner.
Step 7: Now compare your outcomes with the instructions provided by the manufacturer of your tool.
Things to know
• A charged car battery will show readings between 1.265 and 1.299.
• An undercharged car battery will display readings below 1.265
• A slow trickle charge should be enough for you to restore the charge and better the chemical reaction in your car battery. If such isn’t the case, make sure that the readings don’t have a difference greater than 0.001 between them. If they do, this indicates a sulfated battery and you will have to replace it with a brand new one.
Method 3: Testing a Car Battery with a Power Probe
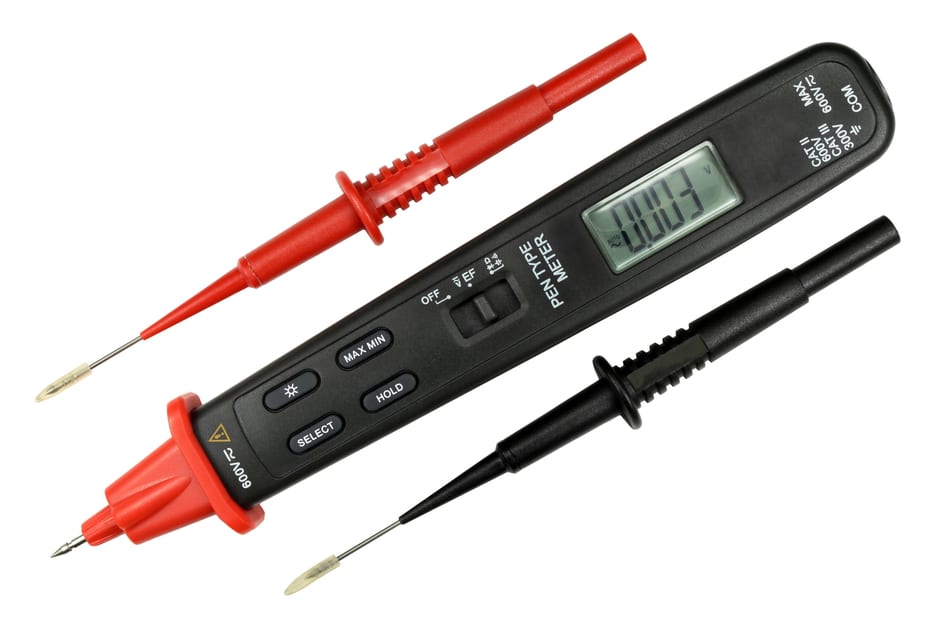
Step-by-Step Procedure to Follow
Step 1: Connect the negative terminal (typically black) of the battery to the probe’s negative connective lead (typically black as well).
Step 2: Connect the positive terminal (typically red) of the battery to the probe’s positive connective lead (typically red as well).
Step 3: For this step, call someone else for help. Ask them to turn on the headlights of your car to provide your battery with a light load.
Step 4: Check the reading on your power probe.
Step 5: The optimum temperature should be around 80°F. Cold weathers are believed to be extra beneficial to power probes.
Things to know
• If the power probe displays a reading of about 12.5V or higher than that, it means that your battery has a good and sufficient charge.
• If the power probe displays a reading of around 12.3V, then it means that your battery is about 75% charged.
• If it shows a reading of 11.8V or lower than that, then it means that your battery is about 25% charged.
• A low reading clearly indicates a problem with the chemical reaction of the battery. Therefore, you need to charge it slowly in order to improve the reaction. After doing so, you should repeat the test. If the reading doesn’t go any higher, then it means that’s your battery is dead and needs to be replaced.
Method 4: Testing Car Battery Terminals Using a Multimeter
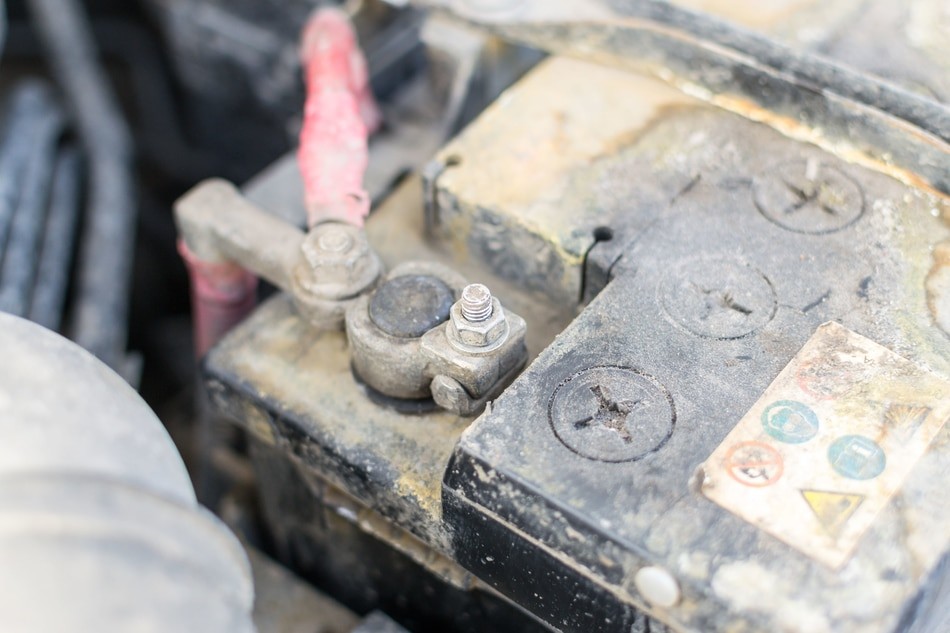
Random visual inspection is not quite enough to discover these problems. Using a multimeter that is set to voltage is your best option. You can check the terminals of your battery for voltage drop, and thus understand the status of the internal connections in a better manner.
Step-by-Step Procedure to Follow
Step 1: Find your car owner’s manual or the repair manual to easily find the location of the coil or fuse in your car.
Step 2: You want to stop your engine from starting while you’re at work; hence, you should disable the ignition system. You can do this by detaching the ignition coil for a temporary period or simply by removing the fuel pump fuse or relay.
Step 3: Take the positive probe (red) of your meter and connect it with the positive battery post.
Step 4: Similarly, connect the negative probe (black) of your meter to the same battery post.
Step 5: Ask an individual for help. Make them crank the engine of your car.
Step 6: If your meter displays a voltage of 0.5 volts or higher, you need to provide some maintenance to the battery posts and terminals and check them for any damage.
Step 7: To test the second battery terminal, connect the negative meter probe with the negative battery post.
Step 8: Now connect the positive meter probe to the same battery post.
Step 9: Once again, ask someone to crank the engine of your car for you.
Step 10: As mentioned in the first battery post, if your meter displays a voltage of 0.5 volts or higher, you need to provide some maintenance to the battery posts and terminals and check them for damage.
Visual Inspection of a Car Battery
Along with testing your car battery for sufficient charge with electronic gadgets, you need to perform a visual inspection to make sure that your battery isn’t damaged in places.
Locating the Battery
To do so, firstly you need to find out the exact location of your battery. You are looking for a rectangular shaped box with two cables attached to it. It should be situated on any one side of the frame of your car where you can easily access it.
Every car is built differently; sometimes the battery is located under the matting in the trunk, the rear seat, or inside the fender of the wheel.
Detaching the Terminals
Now perform the disconnections in the specific order mentioned here to avoid any chances of damaging your electrical system permanently. Using a wrench, detach the negative cable clamp of your battery, and slide it off of the terminal. Next, do the same with the positive terminal.
Disconnecting the negative terminal socket before the positive one is important to avoid short-circuiting the positive terminal to the car’s grounded part.
Disconnect the Battery
Loosen the battery holder and unfasten any screws or bars that are holding your car battery in place. Now, lift the battery out of the vehicle with extreme care. Remember, a car battery usually weighs a lot. If you think you aren’t up for the challenge, it’s always best to get some help.
Learn how to disconnect your car battery safely.
Check Its Physical Condition
Place the battery in a well-ventilated environment and examine it for any damage. Check for a bulge or cracks around the casing, and damaged or corroded terminal posts. Battery overcharge and short circuits can cause your battery to swell.
If any part of the battery is damaged and irreparable, replace your old battery with a new one. This investment is always a worthy one.


