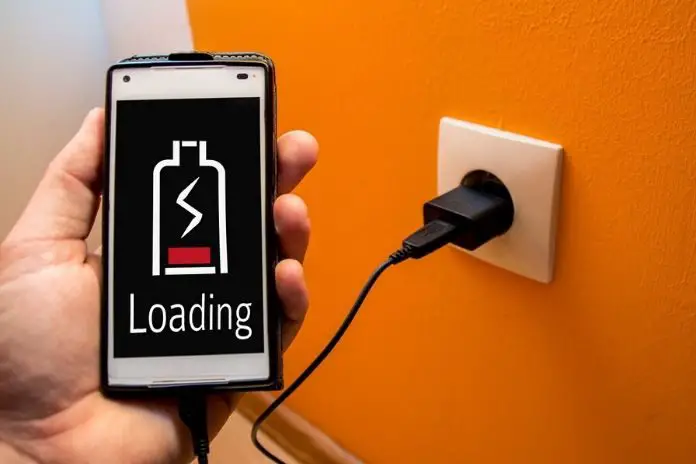
If you are desperate to charge your phone because you’re expecting an important call, then eventually find out that it doesn’t charge because its charger port is broken? I can imagine how frustrating it would be.
Then I realized that what if it’s a matter of life and death, where the call is extremely important and would have a huge impact. Cases like this will make us think how on earth we can charge our phone even if its charger port is broken.
How to charge a phone with a broken charger port? A broken charger port is an issue that can be addressed in several ways. The first obvious option is to take your phone to a service center and pay a professional to fix it. Or you can opt for the options that will only require effort, vigilance, and being resourceful.
It is the riskier option of bypassing the phone’s charger port. Apart from these choices, you can also try a few alternative tricks that will also allow you to put some charge in your phone’s battery.
I was once a victim of a broken phone charger port in the past. And I was left frustrated, worried, and without any idea what to do. That is why I decided to make this guide to help people avoid being in a similar situation, hopefully.
So, if you ever found yourself in the same spot as me years ago, here’s what you can do when your phone has a broken charger port.
NOTE: Before we proceed on the main part of the guide, which is walking you through the process of charging a phone with a broken charging port. I first want to warn you that some of the methods I included here are risky and may pose dangers that may lead to an unwanted incident. So, please be sure to approach each step with extreme caution.
A Fair Warning to All Readers
The methods I included in this guide are also “do it yourself,” which means that they are just products of critical thinking and have no proof of being successful. All the methods I am imparting on this guide also never undergone any safety test.
So, it will be up to you to decide whether to try them or not. I am also urging you as a reader to carry on at your own risk.
Charging a Phone with a Broken Charger Port
A phone with a failing or defective charging port is a frustrating issue that can be addressed in a variety of resourceful and creative ways. Methods budded from the roots of despair, critical thinking, and resourcefulness.
I also included a few tricks that you can do to give the battery a boost of charge, make sure also to check them out. Start by checking out the methods below.
Be reminded that before we got to this part, I already warned you about the risks and dangers that some of these methods have.
So let’s not keep you waiting and get it rolling!
Fixing the Broken Port by Yourself
One of the ways that you can charge a phone with a failed charger port is by trying a DIY fix or an attempt at a workaround on the broken port.
In most cases, a phone’s charger port doesn’t work because of the poor connection. It is an issue where the tiny gold charging pins on the port don’t have good contact with charger’s pins, leading to an ineffective transfer of current.
Now, to carry out this simple fix. You can cautiously follow the steps below:
● Step 1 – Turn off your smartphone to make sure that there’s no current flow.
● Step 2 – Remove the battery of the unit (only if possible).
● Step 3 – Use a small and slim yet firm stick and use it as a lever and try to raise the charging pins within the port. This is to increase its chance of making good contact with the charger.
● Step 4 – Insert the charger’s male plug on the phone’s charging port to see if the connection is right by checking if the connection is firm and hard to detach.
● Step 5 – Place the battery on its appropriate location and make sure the pins of the port are properly connected with the charger.
● Step 6 – Carefully plug the charger into a power source to see if it works.
Remember that this is just a logical way of trying to get a phone with a broken charger port charged based on a sensible standpoint. These steps don’t ensure success, but the method is still worth a try!
Bypassing the Charger Port
This is the method that I mentioned earlier, the one that can be very risky and may lead to an unwanted incident. So make sure to be extremely focused and approach this one with extreme caution.
In this method, you are going to use a USB charger cord, a pair of pliers, and electrical tape. In this method, your phone may have to be the type where you can get access to its battery for it to work.
So, here’s what you have to do:
1. Splicing one End of the Charger Cord to Expose the Wires within
To carry out this method, the first step is to take your charger cable and cut off the end-user to connect with the phone.
Then use a blade to peel off the wire’s insulator to access the pair of twisted wires within. Make sure to expose the wires about an inch long to have enough length to work with later.
2. Untangle the Two Pairs of Small Wires and Separate the Positive and Negative
Now that the small wires are exposed start untangling them to separate the negative and positive wires that you need for the charging process.
Keep in mind that the positive wire is the RED, and the negative wire is the BLACK one. After picking out the two wires, get rid of the other two by folding them back and taping them with electrical tape.
3. Shave of the Insulator of the Positive and Negative Wires Exposing the Copper Wires
Focus on the small wires and expose the strands of copper wires that you will need for a successful charging process.
Do this by gently using a blade to peel off the insulators of the wires and then make sure to twist all of the strands of each wire to have a firmer single strand.
4. Create Positive and Negative Charging Knots by Folding the Copper Wires
At this point, you can now take the two firmer individual strands of copper wires for the positive and negative wires to form the charging knots.
You can do this by folding each strand to form a solid end. This will ensure that your makeshift charger will create a reliable connection since the ends of the wires have larger contact areas.
5. Come Up with a Way to Access the Phone’s Battery to Create to Connection
Earlier, I suggested that it will be easier if the phone is a model that features an accessible battery. This is the part where that feature will come in handy. But anyway, to charge your phone with this method, you have to come up with a plan on how to access its power cell.
For phone models with internal batteries, it will take some effort, but it is doable and very much possible.
6. Connect Your Makeshift Charger with the Phone’s Battery Using the Charging Knots
Now that you have access to the battery look for its gold charging pins. Keep in mind that there are four pins on the power cell. Two of them are for data transfer, and the other two are for charging.
Some phone models indicate which are the positive and negative terminals, but in case yours doesn’t. The positive is usually the rightmost pin, and the leftmost pin is negative.
Take your charging knots (RED for positive and BLACK for negative) and connect them with the battery’s terminals.
Make sure to create good contact between the knots and the battery terminals then secure it with electrical tape. Make sure to cover all the ends of the wire for safety.
7. Plug the Other End of the Charger to a Power Source and See if it’s Working
Finally, now you have a good and secured connection, you can now plug the charger on a power source.
Since it is a USB charger, you can do it by plugging it in on a laptop or any other device with a USB port used for charging. Leave it for about 10 minutes and then check if it worked by turning on your phone.
Since this is a bypass method that directly charges the battery, the current won’t pass through the phone’s system.
If the makeshift bypass charger works, you have to keep an eye on the charging process because it will have the risk of overcharging the battery. This because the current going to your battery won’t be regulated.
I think this process can still be modified and used without directly accessing the battery and connecting the charger to the phone’s charging pins. I haven’t tried this yet, but I think it can be possible, as long as you know which is positive and negative.
Final Thoughts
First, I want to thank you for taking an interest and reading through my guide about how to charge a phone with a broken charger port. I hope you are successful in bypassing your phone’s charging port and got the charging process going, which is my main goal with this particular guide.
In case you haven’t decided what to do, I want to strongly suggest that if you decide to do this, prioritize your safety as well as your phone.


