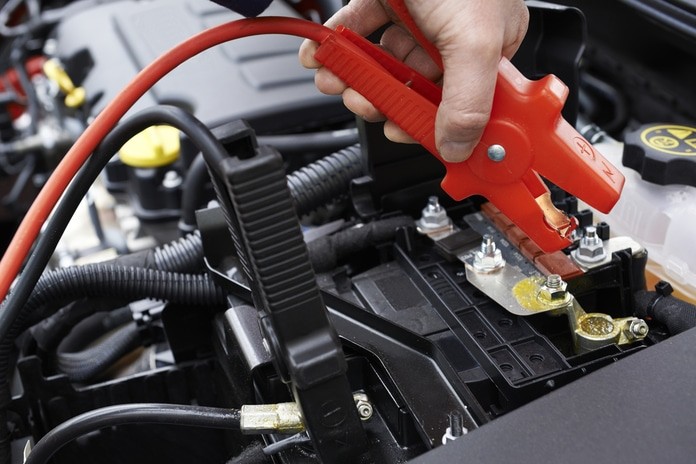
Here is a complete overview on how to recover sealed lead acid battery. A guide that will provide you the basic steps that you have to take to successfully execute the process. It can be a complicated process for some car owners, especially that this is a type of battery that are sealed by nature.
If you are one those car owners or just an individual who wants to to revive or recover a battery like this, then you are in luck. This article is going will help you implement the entire process by providing you the correct steps that you have to take.
This article will also provide you with additional information that will help you take well good care of your battery. So to keep you from waiting let us get to business.
Understanding Sulfation And How It Causes The Battery’s Death
Sulfation is a condition that causes buildups of sulfate on the panels of the battery. It is considered to be on of the most common cause of death of batteries. The buildups of sulfate on the panels of the battery decreases the conductivity of the battery that causes it to be unresponsive.
If this condition has its way and left untreated, the buildup of sulfate will greatly increase until the battery is rendered to be useless. So, fighting sulfation is one of the best way to extend the shelf life of a battery.
Materials You Will Need To Prepare
Before we proceed to the entire process of reviving or restoring a sealed lead acid battery, you first have to gather the materials that you need. To make it easier for you, here is a complete list of all the materials that you will need for the process.
● Cloth for cleaning
● A blade or a razor for getting rid of the cover
● A screwdriver
● Water
● Battery charger
● A voltmeter or a multimeter
● Plastic funnel or a syringe
7 Steps To Reconditioning Your Sealed Lead Acid Batteries
Now that you understand the main cause of a battery’s death and you gathered the materials that you need for the process. We can now get to business and start to get our hands dirty to start working. If you are a newbie and you don’t have any idea on how to do it, here are the steps that you have to take to execute the process properly.
Step 1. Cleaning the Battery You are Going to Restore. To begin the process, the first thing you have to do is to take the cloth and dip it into the water to make it wet. Then use it to clean the battery you are going to restore by using it to wipe the entire battery to get rid of the dirt on its exterior. You can also use a feather duster for this step, but it won’t get rid of the dirt completely.
Step 2. Removing the Plastic Cover of the Battery. Once you cleaned the battery and it’s free from all the dust and dirt on its exterior, you can now get rid of the plastic cover to get to the main business. Use the blade or the razor to trace the side of the plastic cover of the battery to loosen it up and to reveal the upper part of the actual battery. You have to do this step with caution because you can cut yourself if you do it wrong. So make sure to do this step with extreme caution.
Step 3. Remove the Plastic Caps of the Battery. Now that you get rid of the battery’s plastic cover, the upper of the actual battery is now revealed. You will see that there are caps on every cell of the battery, you will have to remove these caps to proceed to the next step. Remove each cap one by one.
Step 4. Add Water to Every Cell of the Battery. After removing the cap of every cell of the battery. You can now proceed to the next step which is to add water to every cell. You can use a plastic funnel to do this or use a syringe for this step. You will fill each battery cell 20 to 30 milliliters of water or it will take a full syringe to do it. Make sure to don’t overfill a cell to keep the workplace clean.
Step 5. Charging the Sealed Lead Acid Battery. Now that you filled each battery cell with water, you can now proceed to charging the battery. It will require you to use the battery charger to complete this step. Charge the battery for 15 to 20 minutes to make sure that the battery will have enough charge. This will also prepare the battery for the next step.
Step 6. The Final Step is to Check the Battery’s Voltage. Finally, for the last step, you will have to use the voltmeter or multimeter to check for the battery’s charge. This will allow you to check if you have successfully recovered the sealed lead acid battery. If the battery is charged then this simply means the battery is recovered.
Conclusion
That is how a sealed lead acid battery recovery is properly done. The entire process is easy but it may seem to be difficult and impossible. However, by following this simple guide, you can execute it without any mishaps. So keep this guide in mind to help you in the future. This guide will help you do the process properly and will also keep you from paying big amounts of money for the process. Make sure to keep these steps in mind.


